November 22, 2023
Visuals are a critical part of any online experience. Whether it’s photos, videos, or another form of interactive content, these elements must load quickly to keep visitors to your site engaged. It's all about finding that sweet spot between image quality and loading speed. Let’s explore what you need to know about image optimization to keep your site up to date.
1. Understanding Image Optimization
To understand the basics of image optimization, we must first understand its core components.
Different Image Formats (JPEG, PNG, WebP)
Images on the web primarily come in three formats: JPEG, PNG, and WebP. Each format has its own characteristics and use cases.
-
JPEG (Joint Photographic Experts Group): JPEG is the go-to format for photographs and images with a broad range of colors. It uses lossy compression, meaning it sacrifices some image quality to reduce file size. This trade-off is often well worth it, as JPEGs are suitable for most web applications.
-
PNG (Portable Network Graphics): PNGs are preferred for images that require transparency or text-heavy graphics. They use lossless compression, preserving image quality but resulting in larger file sizes compared to JPEG.
-
WebP: WebP is a relatively newer format that provides the best of both worlds. It offers both lossy and lossless compression, making it a fantastic choice for web images. It's supported by modern browsers, making it a compelling option for image optimization.
2. The Role of Resolution, Compression, and Metadata in Image Optimization
The resolution of an image is determined by its pixel dimensions (e.g., 1920x1080). Higher-resolution images have more detail, but they also come with larger file sizes. When optimizing images for the web, you often need to strike a balance between image clarity and file size to ensure your site loads quickly.
How your images are compressed will impact how quickly they load. Compression reduces the image’s file size without significantly sacrificing image quality. This is where JPEG's lossy compression and PNG's lossless compression come into play. WebP's versatile compression capabilities make it a valuable contender in this regard.
Image metadata includes information like the image title, author, copyright, and description. While this information can be useful, it contributes to larger file sizes. Stripping unnecessary metadata from images can reduce their size and speed up your web pages.
3. The Significance of Balancing Quality and Speed
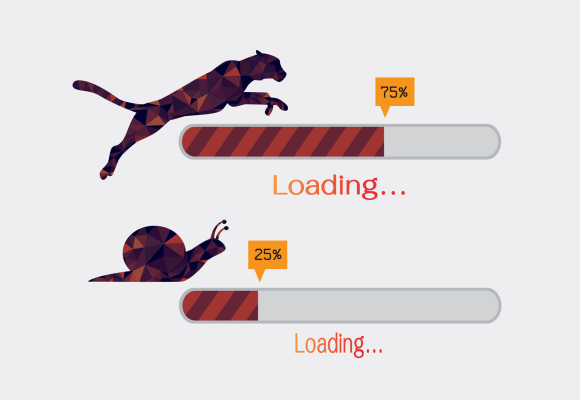
Slow-loading web pages can be a major turn-off for users. In an age where attention spans are shrinking, a few extra seconds of loading time can make the difference between engaging a visitor or losing them to the abyss of the back button. Optimized images create a frustration-free user experience.
Search engines, especially Google, consider page speed as a ranking factor. Faster websites tend to rank higher in search results. By optimizing your images, you’re also boosting your SEO efforts.
4. Choosing the Right Image Format
If your image is a photograph or contains a wide range of colors, JPEG is your best friend. It's great for maintaining visual quality while keeping file sizes in check. Adjust the compression level to balance quality and speed.
Use PNG when you need transparency or when your image contains text. It's excellent for logos and graphics with sharp edges. Just keep in mind that PNGs are usually larger in file size than JPEGs.
For the best of both worlds, consider using WebP. It's a versatile format that works well for most images. Many modern browsers support it, making it a forward-thinking choice for image optimization.
5. Responsive Images

Responsive images adapt to the user's device and screen size, delivering the right image for the situation. To implement responsive images, consider these methods.
-
CSS Media Queries: Use CSS media queries to change the image source based on the user's device. This technique ensures that mobile users see smaller, faster-loading images, while desktop users enjoy higher-resolution versions.
-
Srcset Attribute: HTML5 introduced the srcset attribute, which allows you to specify multiple versions of an image and let the browser choose the most appropriate one based on the user's device and screen size. This is a powerful and user-friendly way to implement responsive images.
-
Picture Element: The <picture> element provides even more control over responsive images. It allows you to define multiple sources and rules for choosing the best image. While it offers the most flexibility, it also requires more coding effort.
6. Image Lazy Loading
Lazy loading is a technique that delays the loading of images until they're needed, such as when a user scrolls down a page. Using the lazy loading approach on your website is simpler than you might think. For more advanced control and browser support, you can use JavaScript to implement lazy loading. With JavaScript, you can fine-tune when and how your images load.
Slow Images No More
Regardless of the technique you decide to use, image optimization is a necessary part of building a quick-loading website. The online business landscape is competitive, and modern companies should utilize every tool they have to stand out amongst the competition. This means including reactive, responsive, and even interactive visuals on your website that load quickly and represent your brand.